Artificial Window
Be warned, this is a long page with a lot of images.
Status: Complete
A friend of mine recently linked me to a video describing how to create an artificial window from an old/damaged monitor or screen. Since I have issues with SAD, I figured it would be a good thing to have in the winter, so I decided to attempt to make one for myself. The original video is viewable on YouTube and is also embedded below:
Starting Out
At the time I started this project, I had two monitors that I didn't use. One an old 3d monitor and the other a newer, regular monitor. Since my parents wanted either one (they wanted any monitor with HDMI) I decided to take apart the brighter 3d monitor for this.
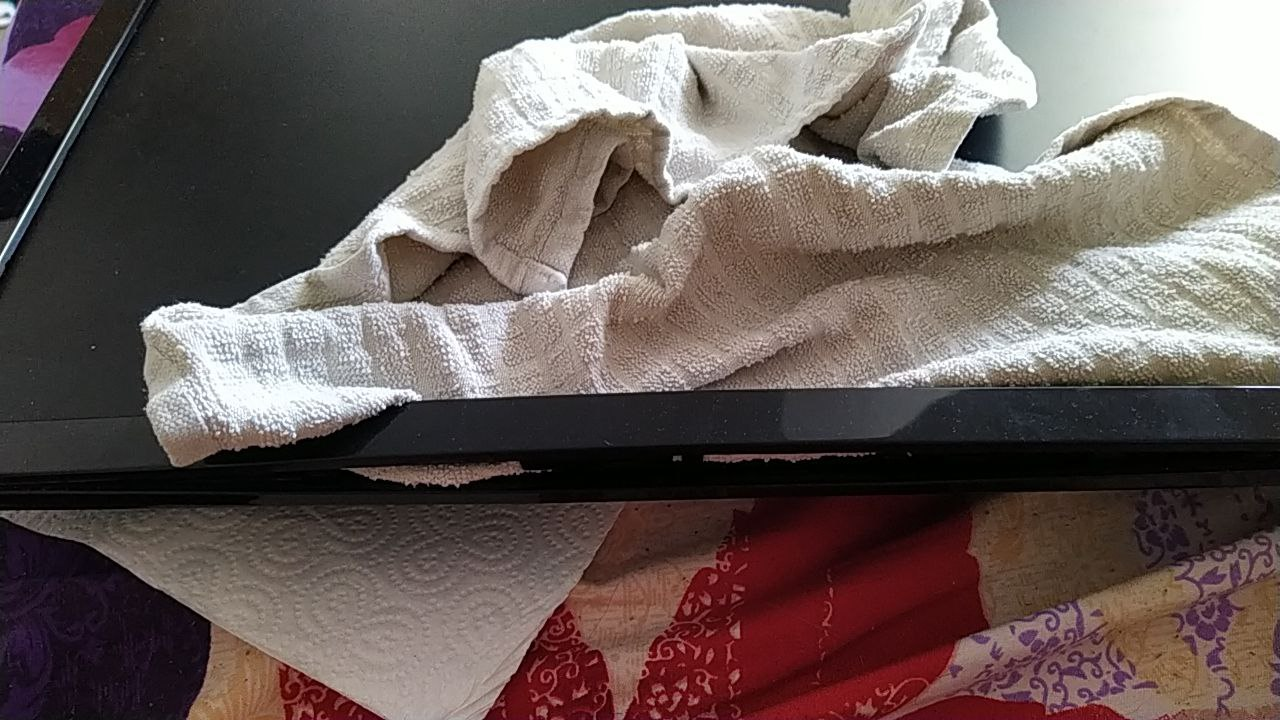
Unfortunately, taking the monitor apart wasn't as simple as I was hoping. I unscrewed everything I could but still the frame didn't come off. After looking around on youtube for a bit, I found a video that suggested using a towel or similar to force it off:
After about an hour, I had a bare monitor:
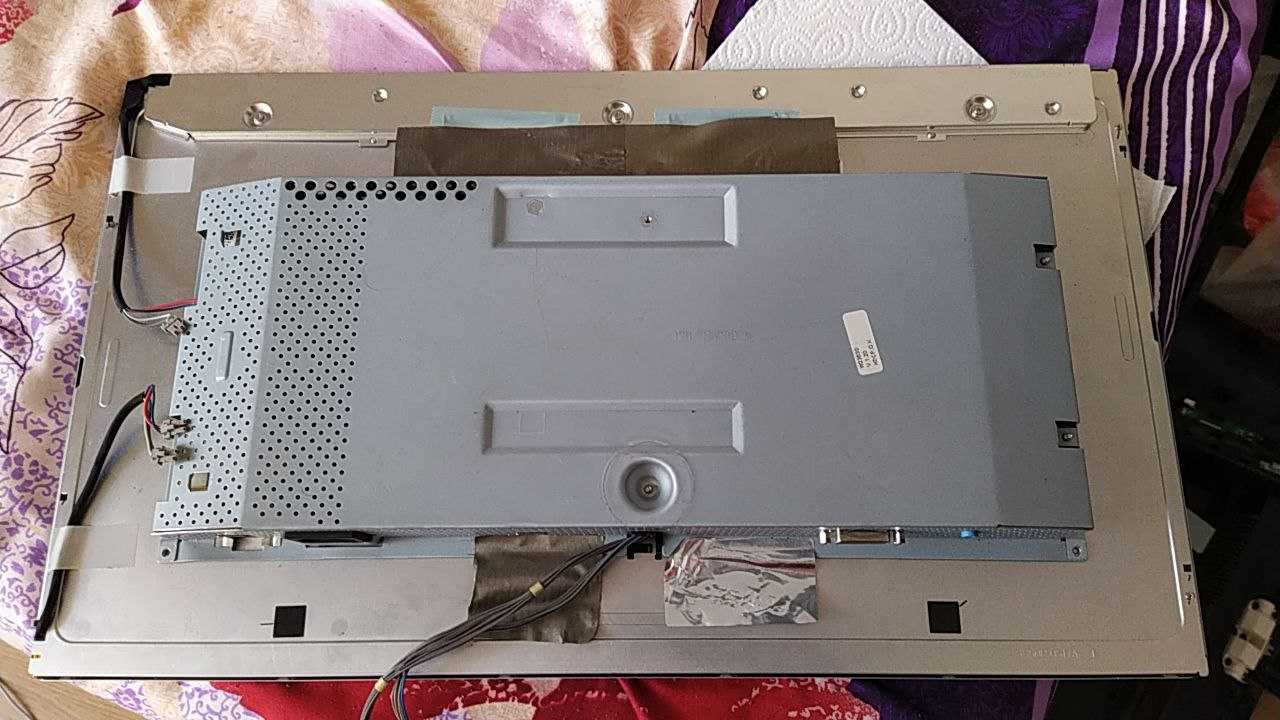
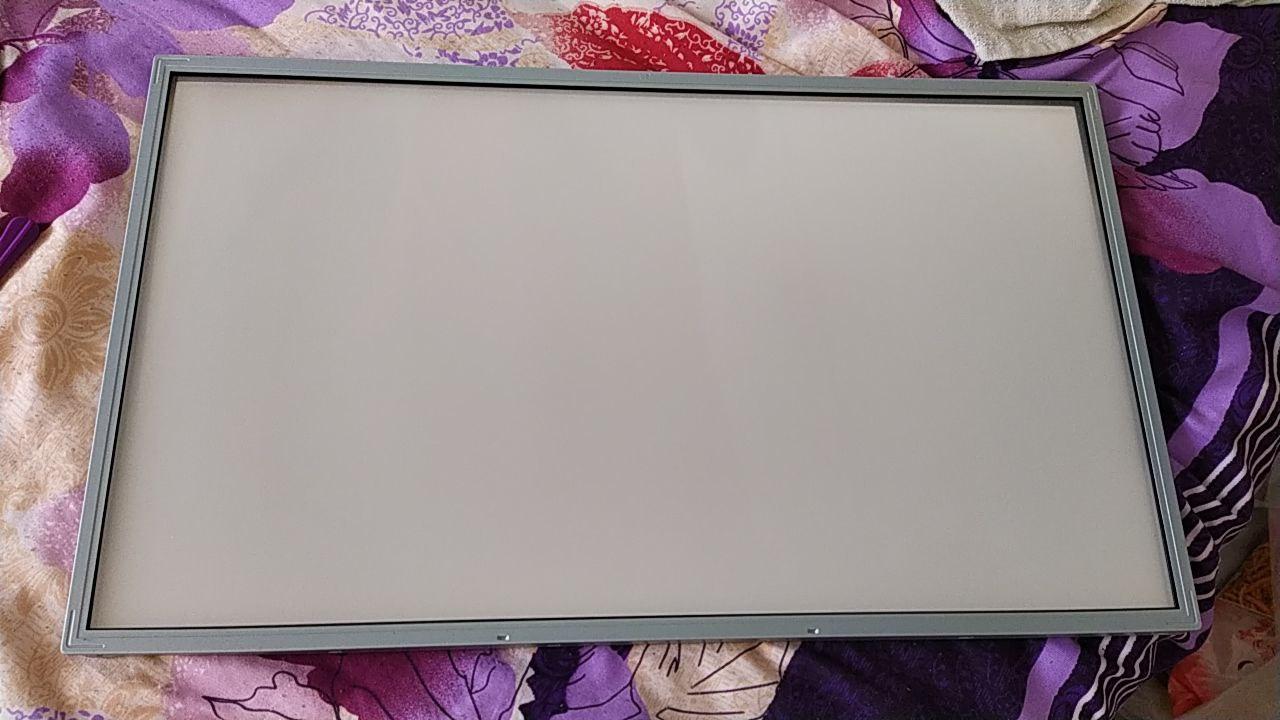
And it didn't take too much longer to remove all the extra electronics, so that I was left with just the backlight. The backlight frame was actually pretty nice, and I initially wanted to use this as the frame, but in the end there wasn't enough space to do so.
Decisions, decisions
So now that I had the bare backlight, I had to make some decisions. I initially wanted to use the lights that came
with the monitor, as they were very bright CFLs, but after a bit of research I eventually decided that it would be
too much work to safely power them. It doesn't help that I'm not a fan of AC or high voltage electronics 😅
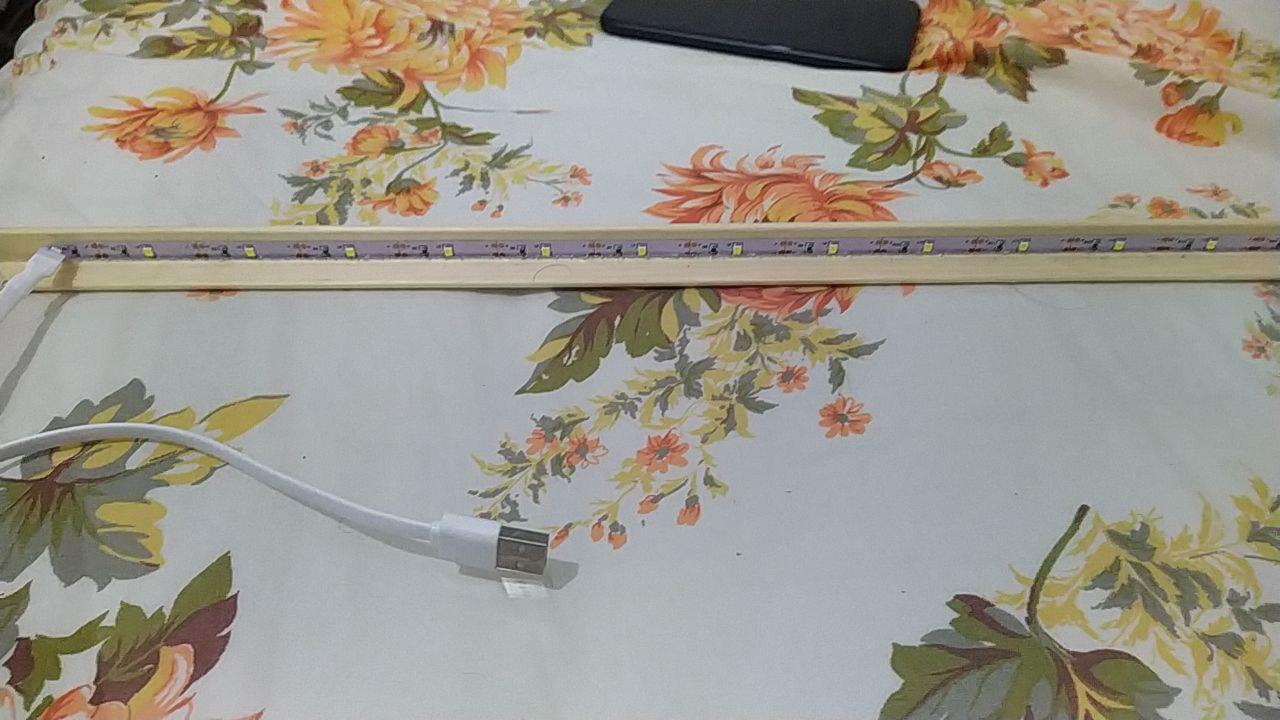
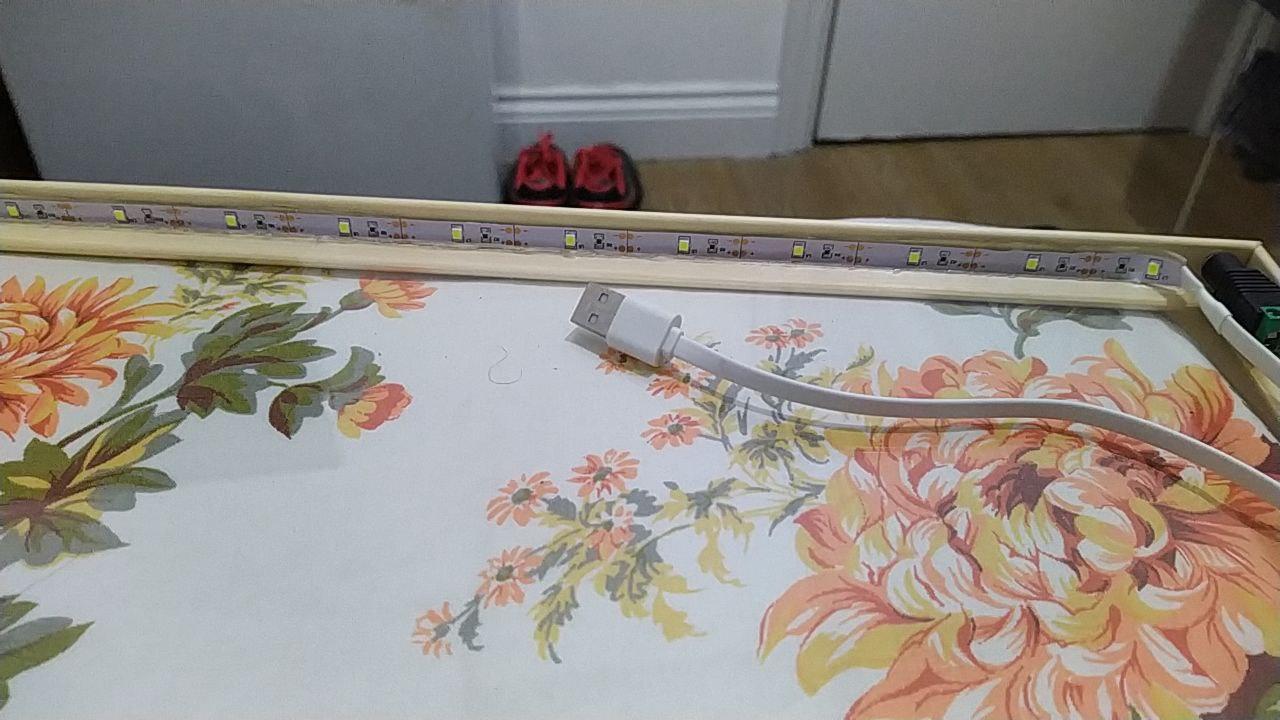
After buying some USB-powered LED strip lights from ebay, I tried attaching them to the original frame, and it was
at this point that I decided that I would have to make my own. Unfortunately, the original frame just didn't have
enough space to attach the LEDs.
Now, for those of you that know me, you're probably aware that I'm not the most handy person you'll ever meet. I can solder and work with simple electronics, I'm good with a screwdriver, but that's about it. So building a custom frame for this was a bit of a daunting prospect. So... I put it off. For quite a while. Eventually my dad offered to help, so it was off to B&Q for some wood!
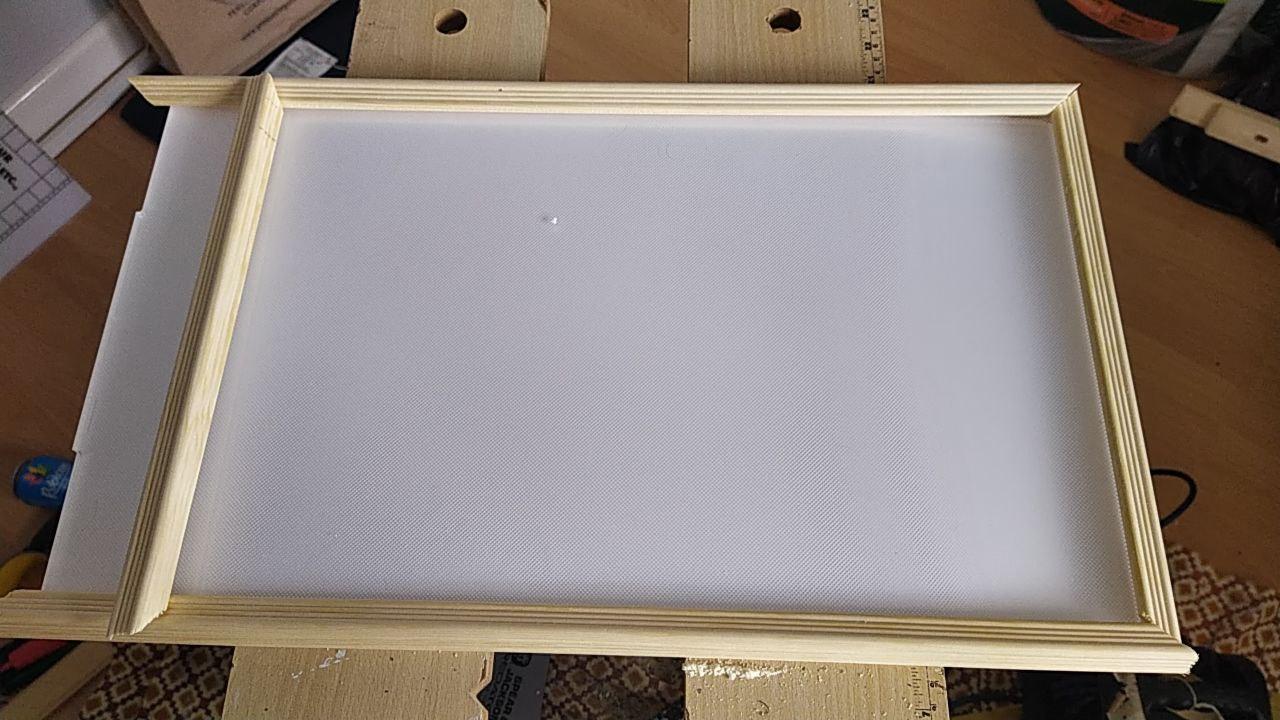
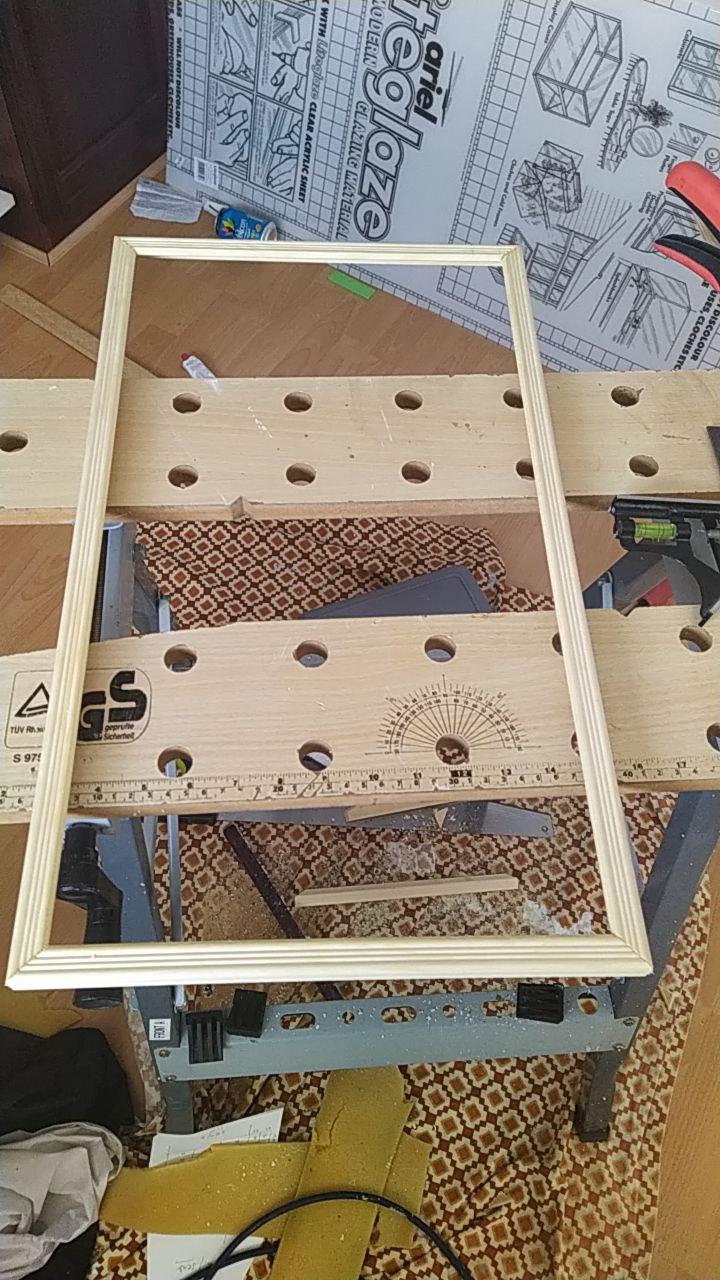
So my dad and I cut some edging we got from B&Q, and made it vaguely frame-shaped. It took an afternoon but we got it assembled and glued together, as well cutting an acrylic layer to size to protect the fresnel lens and diffusion layer. Pretty soon, it looked like everything was coming together!
Lighting
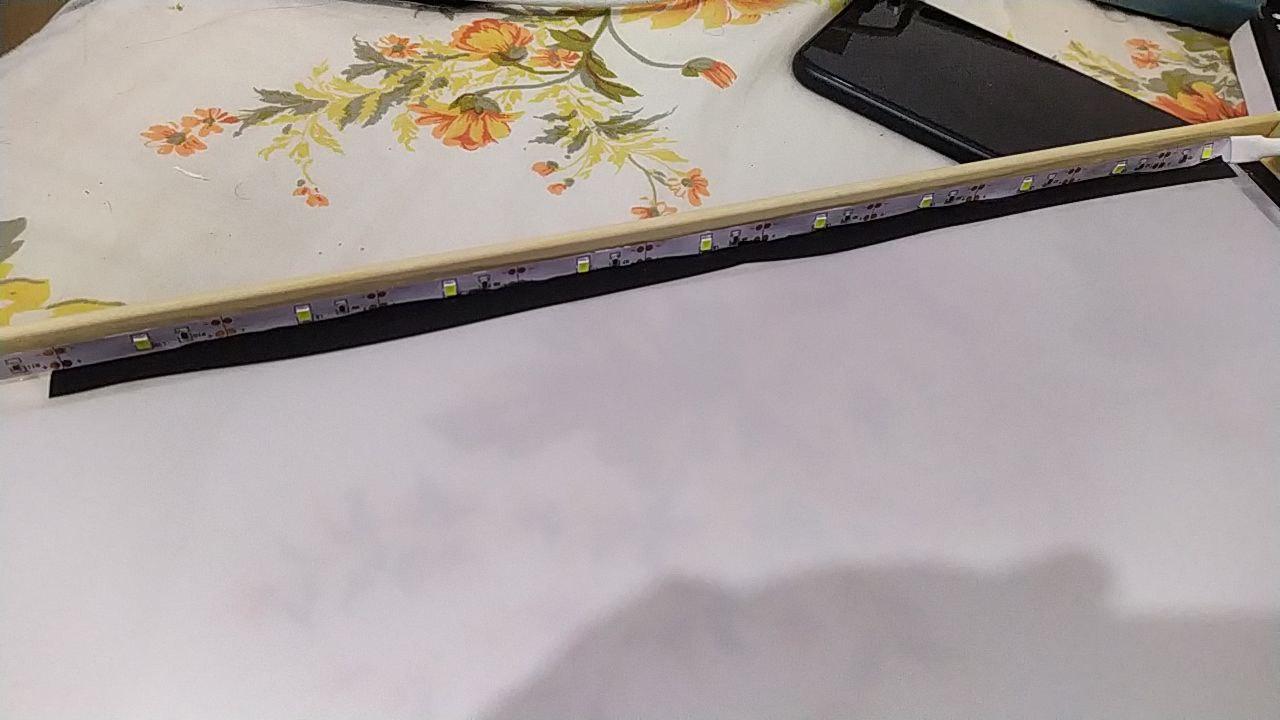
But, of course, at this point the project is just some fancy plastic, some wood, and more plastic. No electronics whatsoever. So it's finally time to start putting the LEDs in! This new frame was far easier to attach the LEDs to, and for simplicity I ended up using two end pieces (with a USB plug already attached) - less efficient as it means that I ended up wasting far more of the strips, but way easier.
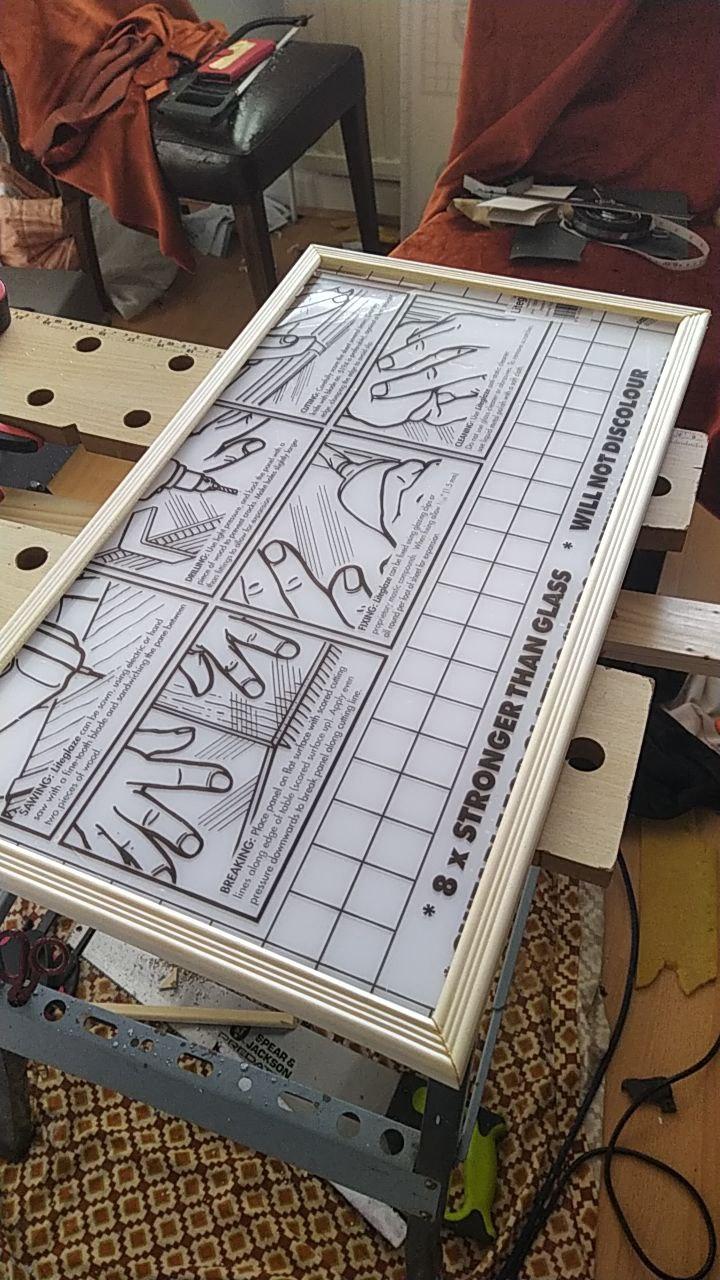
This was around about when I realised that I should take more care about the orientation of things before attaching them. I initially stuck down the fresnel lens with double-sided tape...

But as it turns out, I'd put the fresnel lens on backwards! When I swapped it around the results were much better:
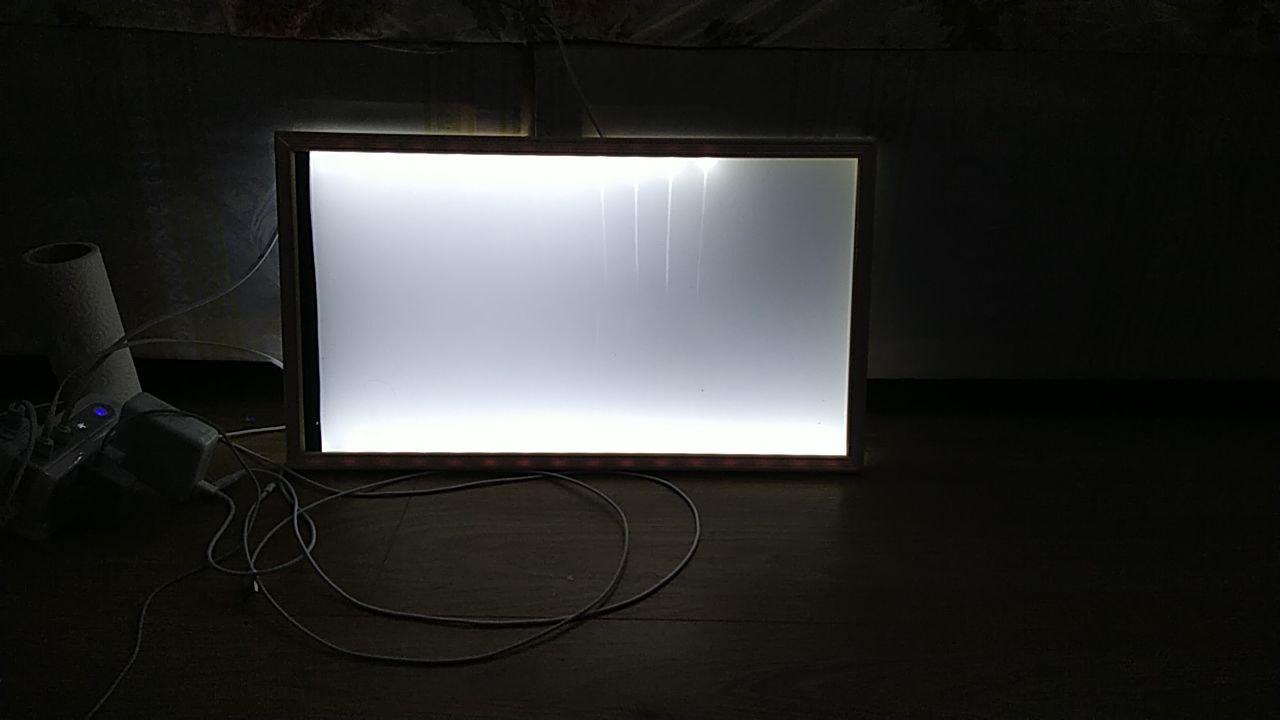
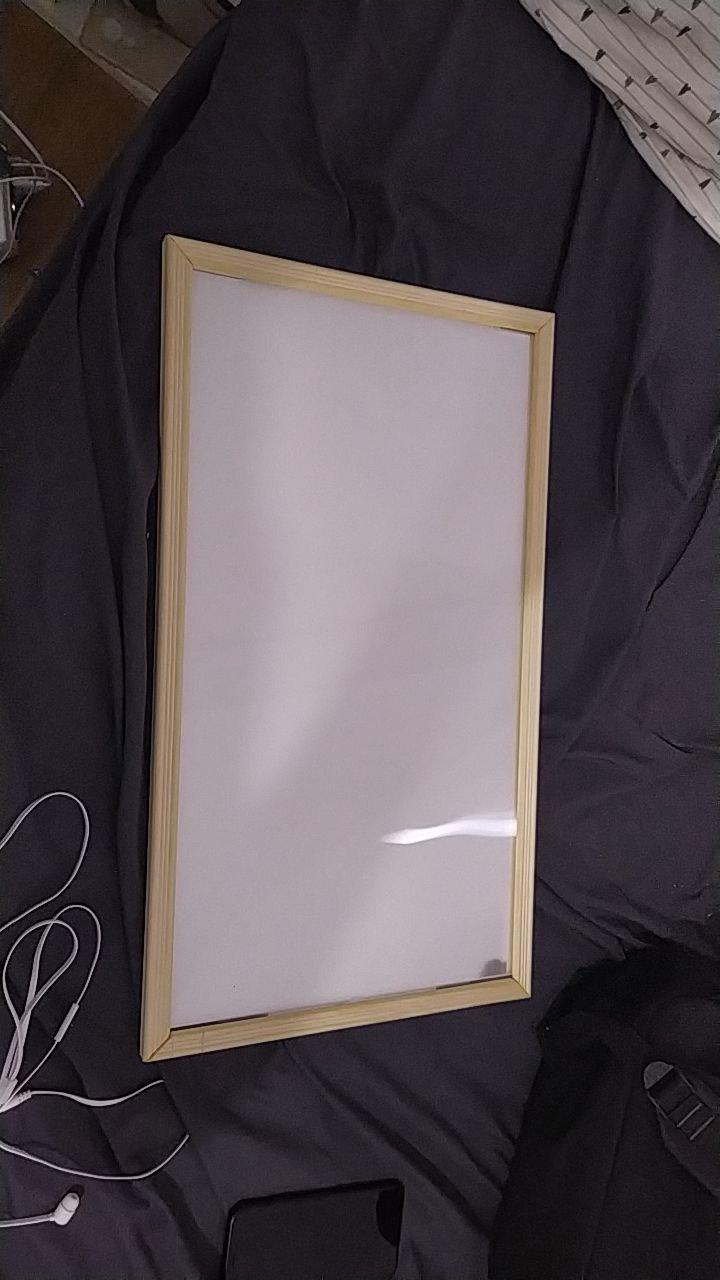
Unfortunately, the individual LEDs were still quite visible. After some investigation, I concluded that the reason for this was simply that there was a lot of space and therefore light leakage between the final layer of the backlight and the LEDs that were stuck to the top and bottom of the frame. So I attached some electrical tape around the edges to minimise this:

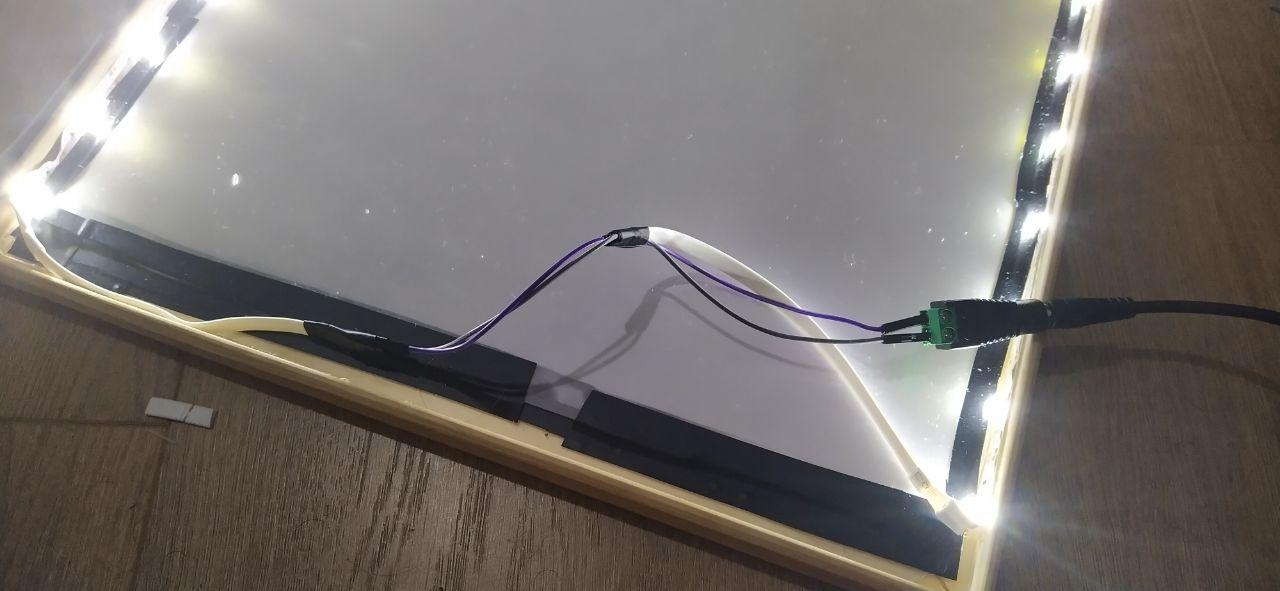
Finally, I switched the system from powering via USB to powering via a simple 5V 2A mains PSU from ebay. The one I got was intended for CCTV cameras and used a standard 2.1mm barrel jack - nothing special, but much more suitable for powering this contraption than two USB plugs.
Finishing off
Now that all the electronics was done, it was finally time to apply the finishing touches. Polyfilla and varnish for the frame, gluing and taping everything down, and then adding a backplate and frame mount so that I can hang it from the wall. Back to my dad's!